Showing posts with label Toybashing. Show all posts

Tuesday, March 6, 2018

Some Small Projects

Just a quick recap of a few items from the workbench.  I have a couple of scenery items and a couple of Horrorclix zombies.  These have been staring at me from the workbench for a while, I was glad to finish them off finally.

First thing I did was build a Plast Craft Games building I got for Christmas.  It's from the EWAR 28 line.  It's listed as a grocery, part of the WW2 France building collection.  It is printed foamcore that basically snaps together, with some parts getting glued.  It built very quickly, I think I had it done in under 30 minutes!  It has a basic interior, and as a bonus, it comes with a destroyed version as well.  It's not spectacular, but it makes a nice building for the table.
Nice small package
It will work best as part of a wargame, like Bolt Action.  As it has a destroyed version, it fits nicely that wherever it is located on the table, if it is destroyed, you have that version ready to go.  Nice idea, and it works well enough.  I had hoped for a ground floor, but I can deal with it being a single large room on the ground.
Some of the parts
It comes flat packed and is very clean and very well printed.  I'd love to see some other buildings like this.  If I get a chance I'll look at getting a few more, they have some townhouses that would be good for urban filler.  I have left off the French sign for now.
Dawn checks out the building
Interior Upstairs
The ruined base
In addition, I painted up a Dark Heaven Bones dumpster.  I'm happy with how it turned out.
Dumpster in blue
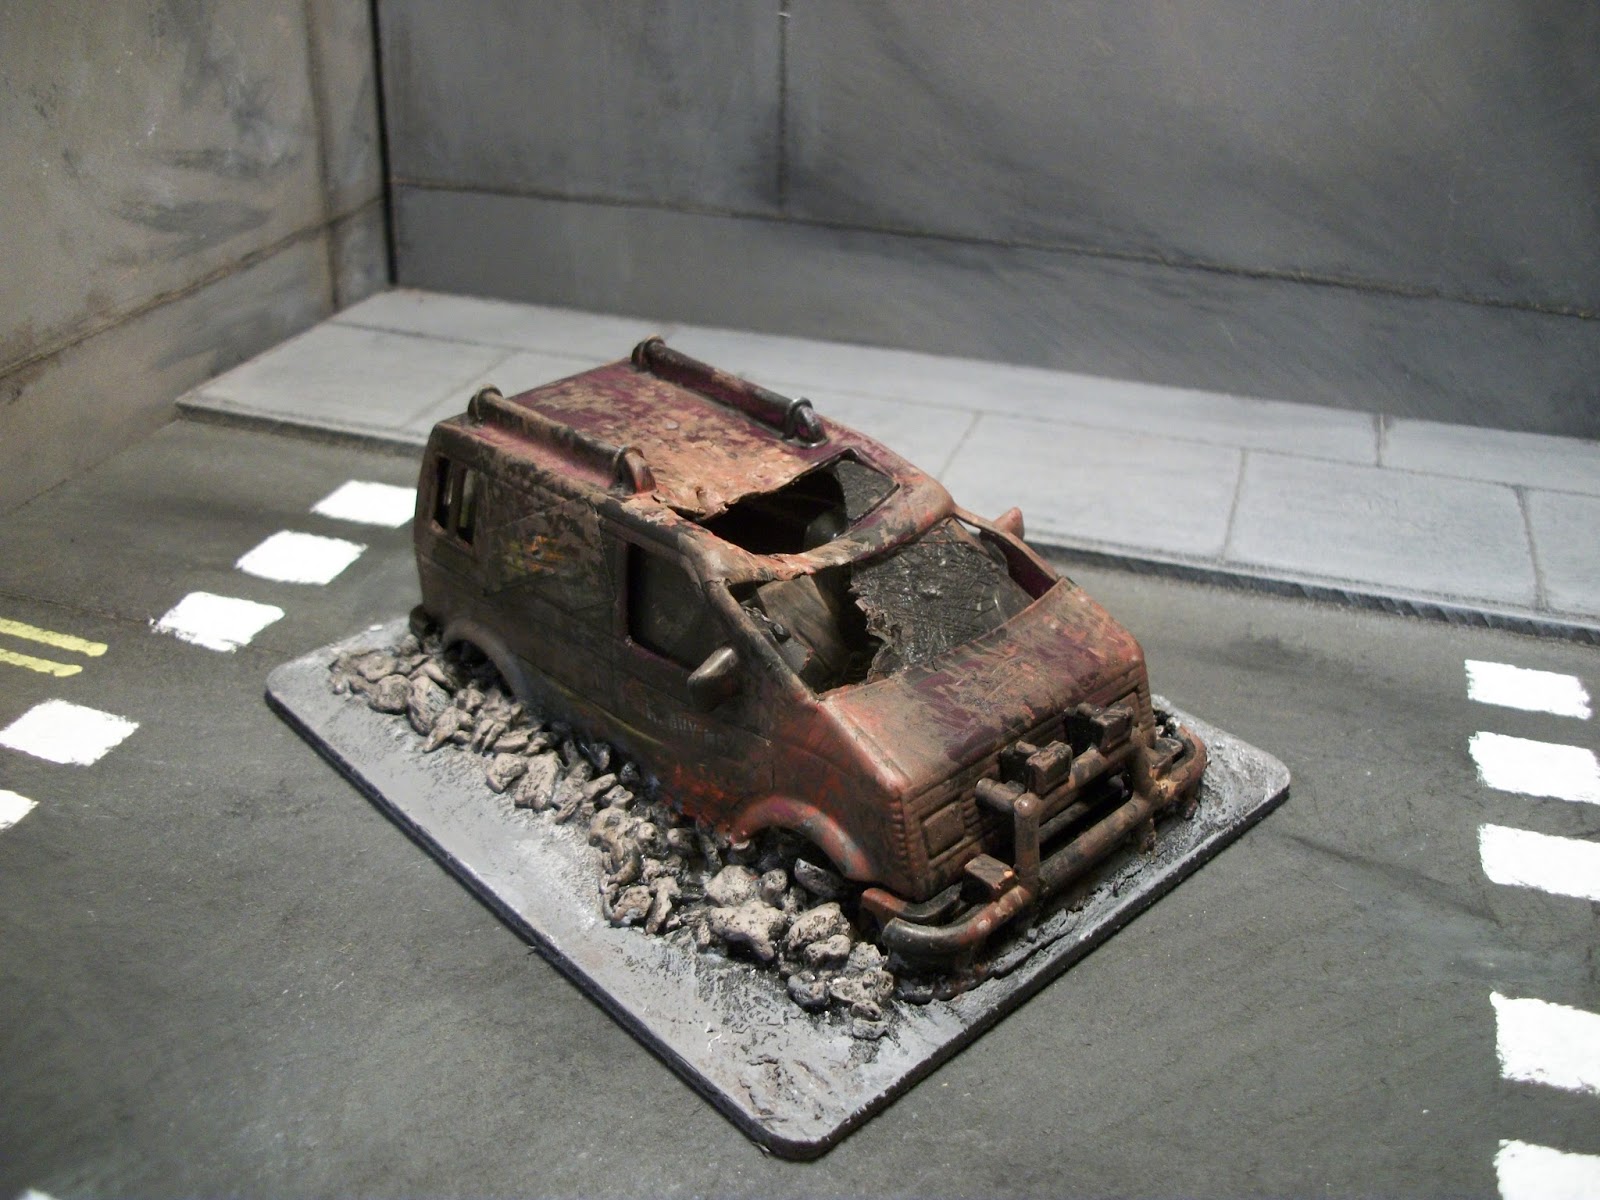
I had a busted toy van I found last summer and it's been just sitting.  I finally based it and turned it into a wreck.
Toy car wreckage!
I love taking old and broken toys and making them scenery.  This car was busted up for me already, no wheels and a crushed top.  Some black and rust paint makes it a decent wreck.
This van has seen better days!
Finally I have two zombie cops from Horroclix.  I just did some painting, added some gore and based them on smaller bases.  The Horroclix line has some fun models, and they make for good additional zombies in the horde.  Too bad they are getting hard to find.
Two zombie cops
That's it for the update.  I'm hoping to get more productive, as well as figuring out how Dawn and company are going to handle their prisoners!
Lady!  You can't park that here!

Sunday, June 11, 2017

Wasteland Cruiser

I found an older muscle car toy at a second hand shop, and it inspired me to create a post-apocalyptic ride.  It was red and beat up pretty bad, the rear window was missing, wheels damaged, chipped bumper, not a wreck, but in bad shape.  I'm sure you all know the inspiration for this vehicle...
Mad Max anyone?
I added some fuel tanks to the rear window area (taken from a truck) as they fir the space pretty well.  The front end has a reinforced bumper made from wire and sprue parts.  I also added wire mesh to the windows, they need some protection.  Overall a rust and dirty paint job finished the cruiser.
Ready for a rough road
Improvised front ram
Rex stands in for Max
Pretty much straightforward, a rusty beat up muscle car.  Some reinforcement and extra fuel tanks for the long empty roads...

Sunday, February 5, 2017

Scenery: Sheds and Warehouses

This is a quick post on some storage buildings, based on parts I have found recently at one of the second-hand stores in the area.

I managed to find a bunch of parts for some Ertl farm buildings, as well as some more Hot Wheels street building sets. 
Various plastic buildings
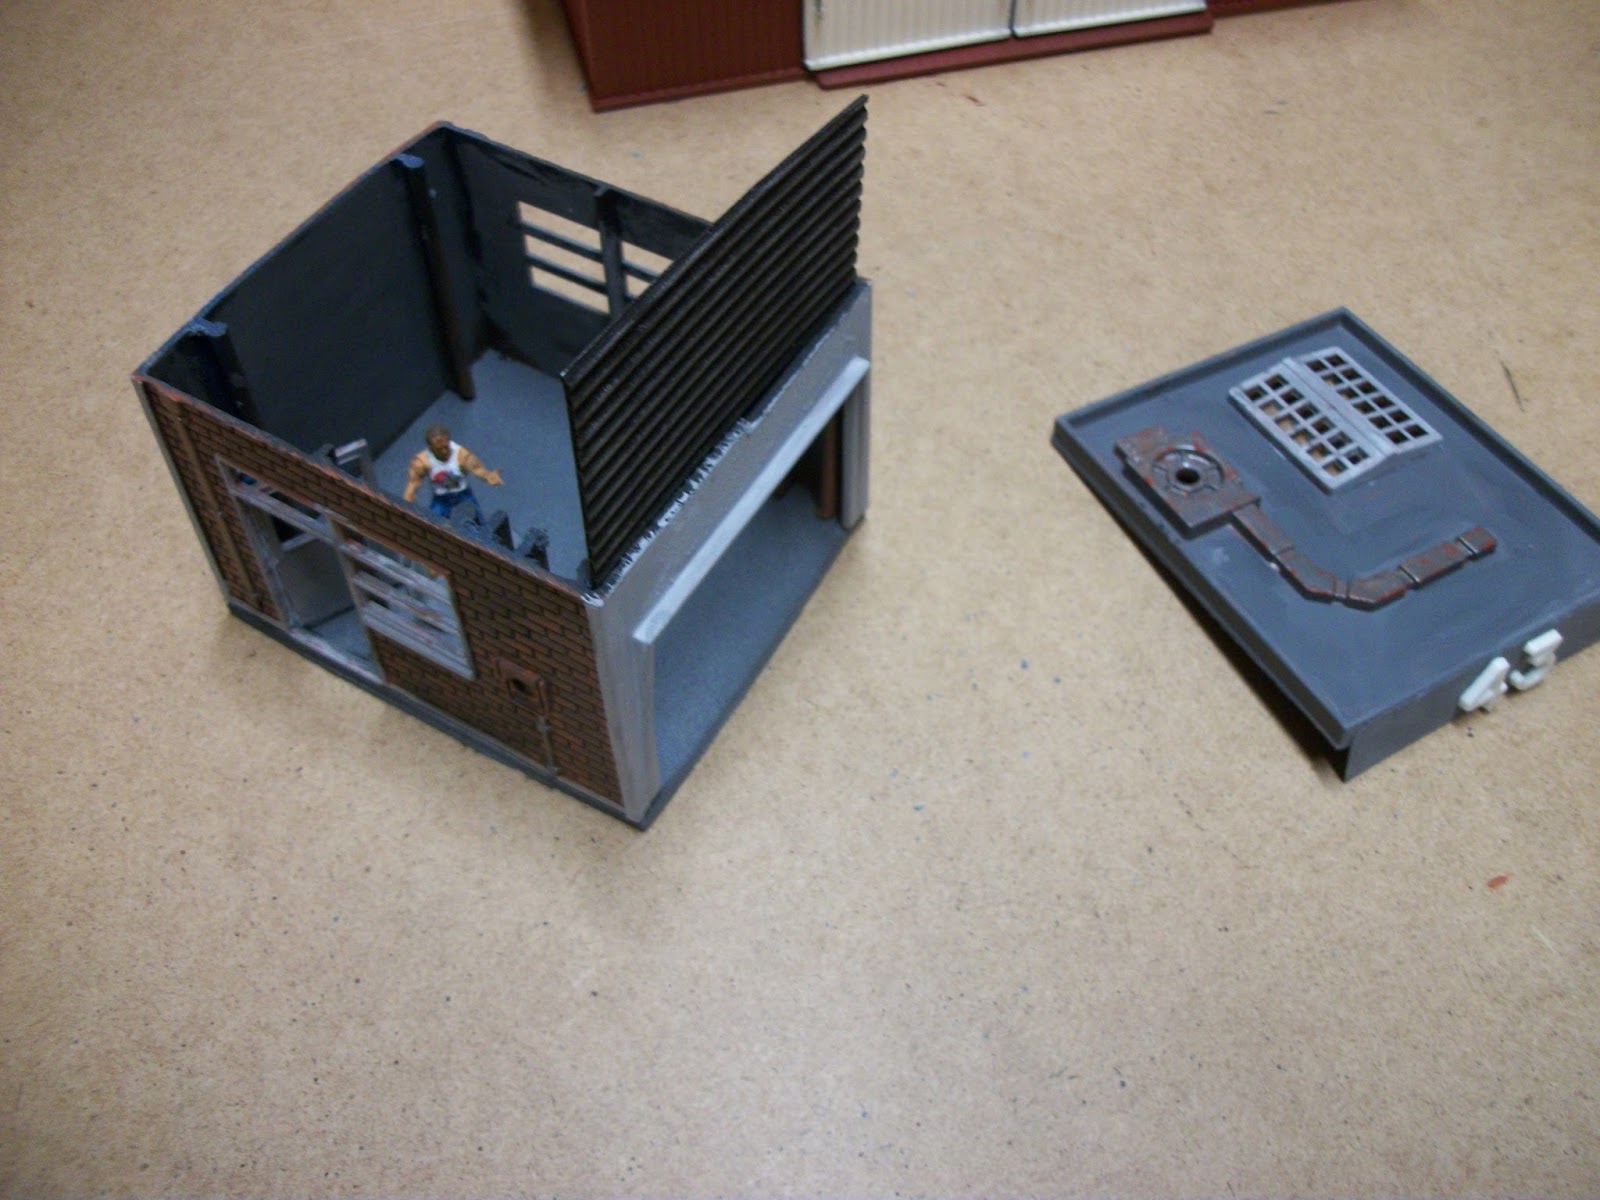
First, the Hot wheels building.  I wanted to try something a bit different with this building, I have made it into a garage or shed before.  I didn't make the top removable, so it was hard to have play on the interior.  I sawed off the top before painting or any other work.  To help with locating the roof, I added a piece of plastic card to  the front.
Top sawed off
Top with added front card
I cut a piece of hardboard for a base.  It's painted up as a concrete slab.  I just give the interior walls a quick black spray and then some touch up with a neutral brown.  It's really just to give some coverage of the bright blue.  I add a couple of plastic numbers to the front after I painted it up.  I also managed to not take many pics, so we jump to the finished product.
Front view
Jack checks the garage
Jack just inside the door
Garage door open, roof off
For the Ertl buildings, they are just straight builds.  I paint one up with a red oxide exterior and green roof.  It is mounted on a sheet of plastic card, painted to look like a concrete slab.  I keep it very thin for the red building.  There isn't much to show for in process pictures, it's just painting really.
Jack checks the warehouse
Jack in the warehouse
A look through the open doors
The other garages are still work in progress, but they will look about the same.  I haven't decided if I will grab my older small Hot Wheels garage and open the roof up like the first one I did here.  For now I will just leave it intact I believe.

If you get a chance to find any of these buildings, I definitely recommend them.  The Ertl parts can be used for larger or smaller buildings, or for ruins.  Especially if you can get them cheap.

Monday, January 9, 2017

Scenery: Water Tower, Walls and a Supply Crate

This is a quick post of a few small items I managed to finish this week.  These are mostly recycled toys I found at a local resale shop.  These are meant to be scatter pieces, just to help fill out a table and add some interesting or useful bits.
Jack, Dawn and their car for scale
First is a tall piece, it's meant to be a water tower or similar.  Probably at a construction site or a farm or something.  It is a recycled Play-Doh dispenser, the base had some decent texture that came out with some paint.  I went for just a few colors, and lots of rust.
It's a tower...
Jack and Dawn check and see if there is any water...
Tower and weapons crate
I also have a Weapons Crate from Dark Heaven Bones.  It painted up very quickly, it's just a box after all.  I may get another couple of them and paint them in different colors for use as objective markers and such.  It's a bit large, but works well enough.

Jack is perplexed by the digital lock
That can hold a lot of weapons...
Finally, I have a couple of low walls.  These are hard plastic toys, no idea where they originally came from.  I picked them up with the tower, I love the second hand shop, the stuff is so cheap!
Some cover is better than no cover...
They should be useful on some tables
A bit of a slow week, but I was happy to get a few items off the work bench.  I love repurposing toys, these were easy to use - just some paint!

Sunday, March 6, 2016

Scenery: Ruined Gas Station (Flo's V8 Cafe) Finished

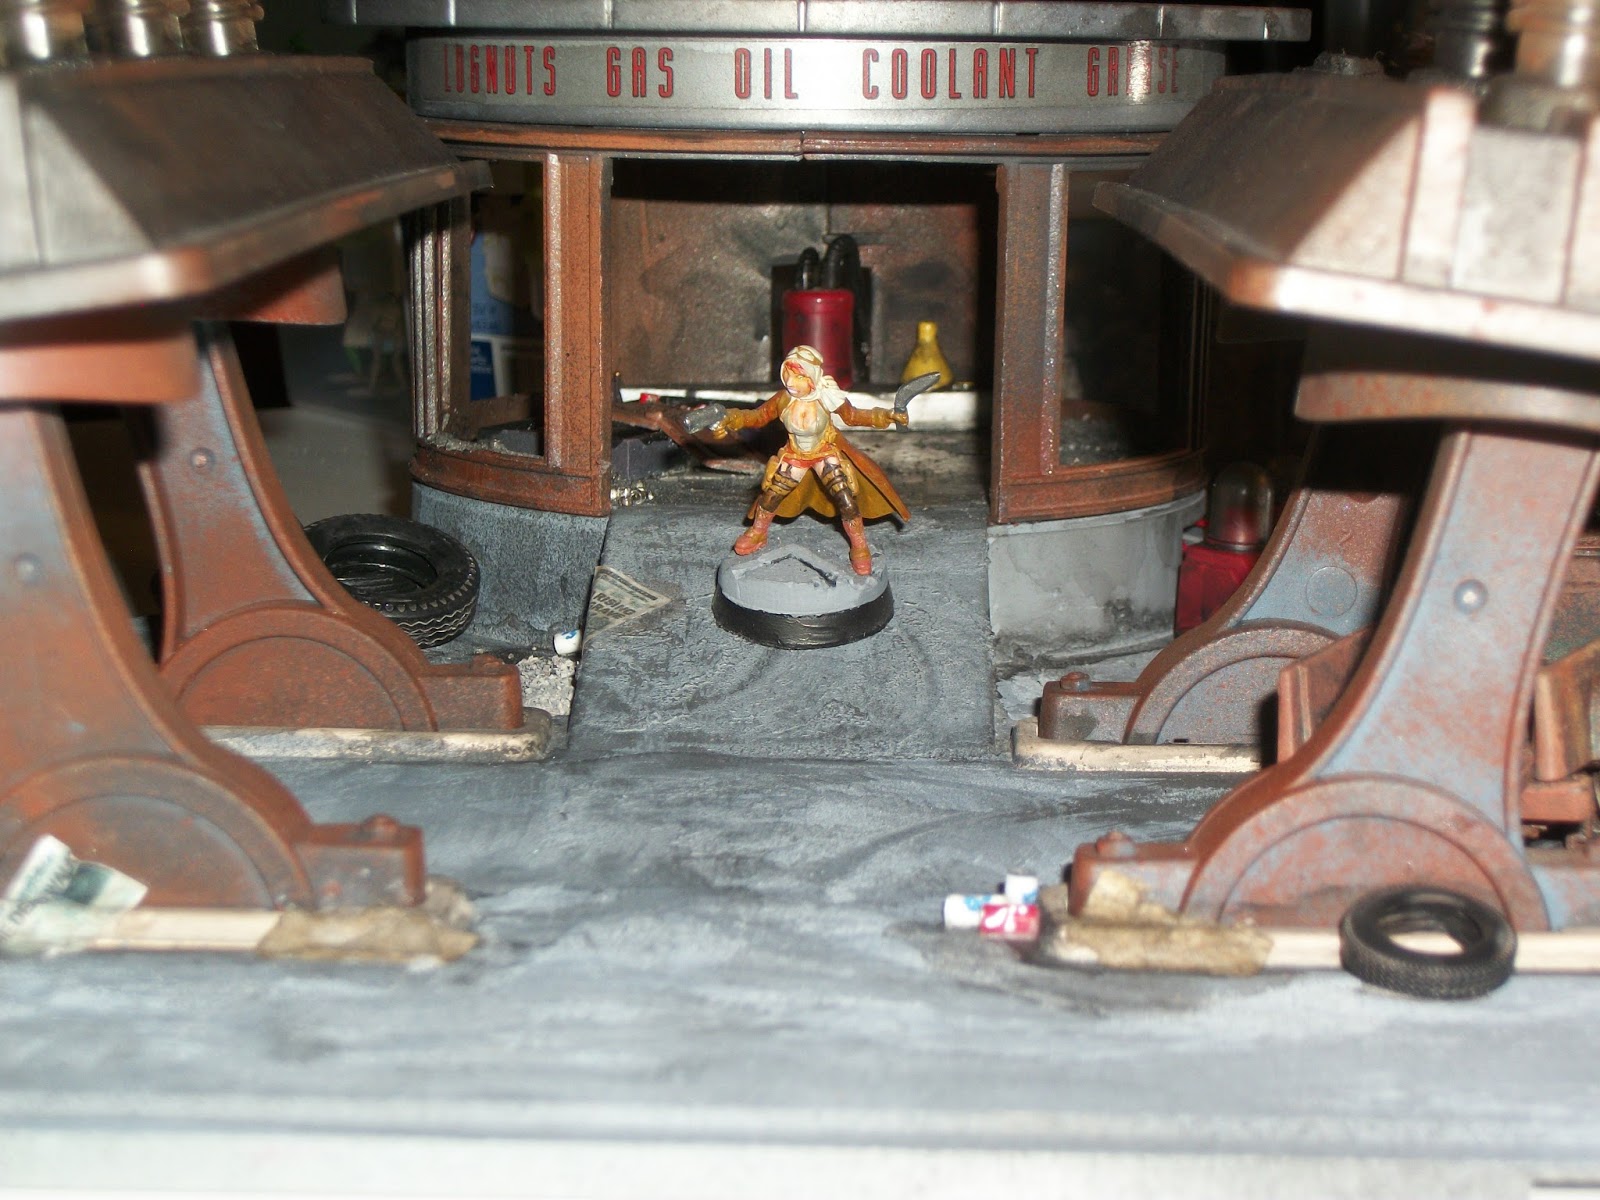
The detail work for the gas station is complete, I'm hoping a "less is more" effect is better.  I added some various cans, newspapers and such scattered around the pump areas.  The truck has been replaced with a die cast pickup truck that I destroyed and added some various car and truck parts to give it a ruined feel.  I decided to leave the roof alone (for now) to make it easier to get to the inside of the building.

On to some pics!
Top View
Burned out truck (with a box/crate in the back)
Top view left side
The sign is removable, makes it easier for storage and if it gets hit during play, it *should* just breakaway where it connects to the toy base.  I hope I don't have to prove out my theory!  I tried to add some fun details, like beer cans, newspapers, an out of gas sign, tires, etc.  It was pretty fun to start putting junk on the toy set, it would have been very easy to go overboard!
Ruined truck, damaged overhead
They're out of gas
Dawn shows the front of the station
Dawn stands at the entrance
I considered adding handrails to the entrance ramp (in real life I am certain the government would require them!) but they were a bit too fiddly, and would just get in the way of moving figs around the area.  The various items added were just to add some junk feel to the ruins.  Most of the items actually came from this toy.  The various tires are from a box of tires I have from stripping them off various toy cars.
Some sort of vacuum?
Pile of tires (some Fallout influence here)
I'm pretty happy with how it turned out.  Hopefully I'll get to place it on a table soon.

Comments and questions are very welcome!

Sunday, February 28, 2016

Scenery: Ruined Gas Station (Flo's V8 Cafe Toybash) WIP

This starts with a CARS play set of Flo's V8 Cafe.  When I got it, it was already in rough shape, so I figured a ruined gas station was the best way to go.  The set was already missing one gas pump, the top was broken, the sign was missing and some various parts were missing.  It's not the largest building, but the overall look and feel of a gas station was easy to start with.
The original out of the box (not my pic)
The one I found was in pretty bad shape (which to be honest, is the way I love to find these toys!) but still had the main parts intact.  Normally I wouldn't post until I had the build completed, but I am hoping to use this in one of my next campaign games.  With luck, showing something half done will encourage me to finish it more quickly!

Some WIP pictures:
Front view, still pretty clean

Front and above
The first shots I have are pretty clean still.  I'm adding junk to the base, as well as show a little more damage.  The interior I have added some fallen shelves and other bits.  There are some cans and bottles, plus a cash register salvaged from a Polly Pockets play set, just painted up.  I'm pretty pleased with the interior, although I may add a bit more debris before I call it complete.
Interior Details
I have some crushed glass beads I have used for simulated broken glass.  I was hoping they would pick up the light a touch and give that 'broken glass' glint.  It works, but not as well as I had hoped.  I have a ton of beads, so I'm going to play around with them some more and see if I can get them to work better.
Side view, open access plate behind
I placed a wreck where one pump was missing from the original play set.  I'm not pleased with the wreck, so I am making a new one.  The pictures show what I was thinking at least.  I'd like a much more "skeleton" wreck I think.  Hopefully I can make something work.
Wreck where a pump should be
It's a wreck.
The toy was missing the sign post, so I need to come up with a new sign.  I'd like to make both a sign post as well as something for the roof of the building.  There are various details on the roof, I think it should lend itself to a collapsed sign structure once I have a design.

That's it so far, comments and suggestions are welcomed!

Saturday, January 9, 2016

Rusty but Usable - Vehicles

I have a few of these die cast vehicles I have found at yard sales and second hand stores.  They all have been played with - some very destructively!  These are all Tootsie Toys, and a few of them are the same model, just different colors.

As I looked at them, they inspired a bit of Fallout feel to me, and having wasted much time on Fallout 4 recently, it was easy to see them as rusty hulks.  I figured these could be some old workhorses for some survivors.  Some of these have broken parts, which made me think of wrecks first, but they could also be just well-used and worn.

All I did was clean them up and give them a heavy weathering finish.  I chose to leave whatever paint scheme was left on the original vehicle.  They all had flaking, damaged paint so it fit with the post apocalyptic feel.
Jeep and "Utility" truck
Utility truck and Ambulance (?)
Dawn gives a sense of scale
I was just wanting to get some generic vehicles I could use for some survivors, and these feel like they fit the bill.  I haven't decided if I want to customize them with armor/spikes/etc. or just use them as is.  I have a few more, I'll have to decide what to do with them.  This was a quick project to get the year started!